
Construction Staking for Retaining Walls on Sloped Lots
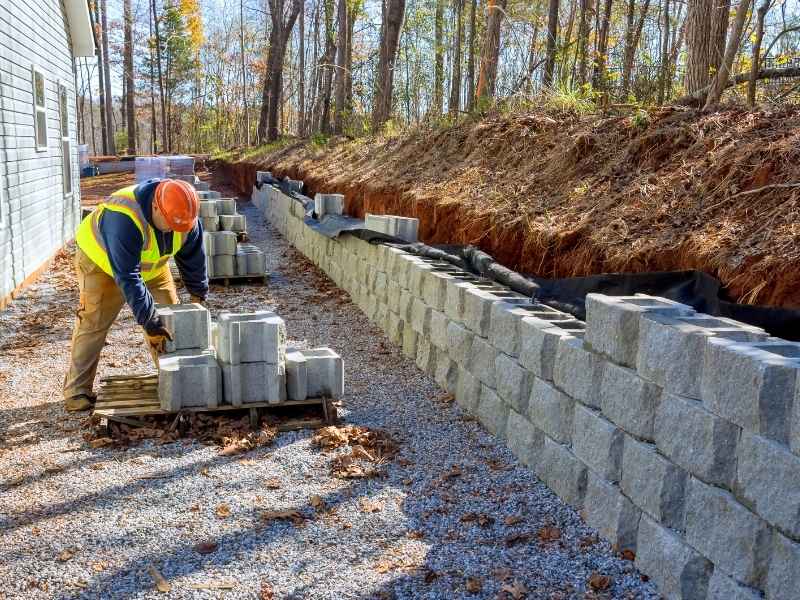
A retaining wall built a foot off its planned spot can mean a costly rebuild. On a sloped lot, small layout errors grow fast because the ground changes height every few feet.
Construction staking is the process of marking design points in the field so crews know where to build. For a retaining wall, that means marking the wall line, the wall heights and the digging limits. Where many lots near the Hill Country edge have steep grades and shallow rock, accurate staking keeps the wall on the plan and on your own property. This article is written for builders, contractors and property owners getting ready to build.
Reviewing Retaining Wall Plans Before Construction Staking
A surveyor should review the wall plans, the site plan and the topographic survey together before setting a single stake. This catches problems while they are still lines on paper.
Here is what we look for:
- Wall length, corners, and where the wall starts and ends
- Top of wall and bottom of wall elevations
- Footing depth and any drain pipe behind the wall
- Property lines, easements and setbacks near the wall
- Whether the plan still matches the ground
That last point matters more than most people expect. If the lot was cleared or graded after the topo was made, the plan may be off. An updated topographic survey is cheaper than a wall that does not fit.
Some walls need engineered plans or permits. Rules can vary by wall height, location and jurisdiction, so check early.
Staking Wall Alignment Across Changing Ground Elevations
Wall alignment is the path the wall follows. On a slope, the surveyor sets stakes along that path at corners, curves, end points and regular spacing.
Most stakes go on an offset. That means they sit a set distance away from the wall line, so excavators do not knock them out on day one. Each stake is marked with the distance back to the true wall line.
Stepped and tiered walls need extra care. Each has its own start, end and height, and each one should be staked on its own. A curved wall needs closer stake spacing so the curve comes out smooth.
Rock is common here. Where limestone sits close to the surface, wood stakes may not go in. Crews may use paint marks, nails or drilled points instead. Tell your surveyor what you expect to find so the right tools are on the truck.
Transferring Design Grades and Wall Elevations Into the Field
Design grades are the planned ground heights on the plan. Staking moves those numbers from paper to the site so the crew can build to them.
Grade stakes show a cut or a fill. A cut means dig down by that amount. A fill means build up by that amount. You will usually get a cut sheet too, which lists every stake and its numbers.
For a retaining wall, key heights often include:
- Bottom of footing
- Top of wall
- Finished ground on the high side
- Finished ground on the low side
Ask your surveyor to set a benchmark near the work area. A benchmark is a point with a known height. Your crew can use it to check their own work as the wall goes up.
If the footing hits rock sooner than planned, call the engineer before changing the depth. Do not guess in the field.
Coordinating Wall Layout With Nearby Site Improvements
A retaining wall rarely stands alone. It sits near driveways, foundations, pools, fences, drainage paths and buried lines. Staking should show how the wall fits with all of them.
Check the wall against setbacks and easements first. A wall that crosses a property line or utility easement can lead to disputes and forced removal. If the line is in doubt, a boundary survey gives you a firm answer before you build.
Drainage needs a close look. Sloped lots move water fast, and a new wall can send runoff toward a neighbor or into a foundation. Lots near the Comal or Guadalupe rivers may also touch floodplain limits. Some sites in the area fall within zones, which can add erosion control or other requirements. These rules vary by site, so confirm them with the city or county.
Call Texas 811 before any digging. Locate marks help crews avoid lines they cannot see.
Checking Staked Wall Locations Before Excavation Begins
Walk the site before the excavator arrives. Compare the stakes to the plan with the surveyor’s notes in hand.
A short checklist helps:
- Confirm the wall line sits where the plan shows it
- Check that offsets and cut sheet numbers match the stakes
- Look for stakes that are missing, bent or moved
- Measure to the nearest property line or building
- Ask about anything that looks wrong before digging
Rain, equipment and foot traffic all disturb stakes. Restaking fees and responsibility often depend on your contract, so settle that before work starts.
Schedule matters too. Staking lead times can vary, and a crew waiting on stakes costs money. Confirm your date with the surveyor as soon as the plans are final.